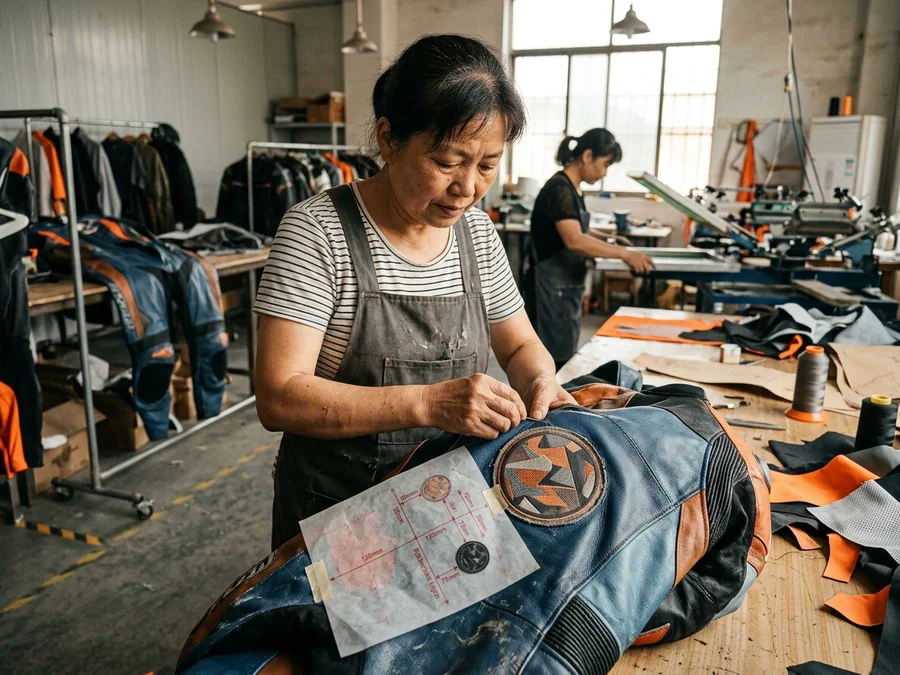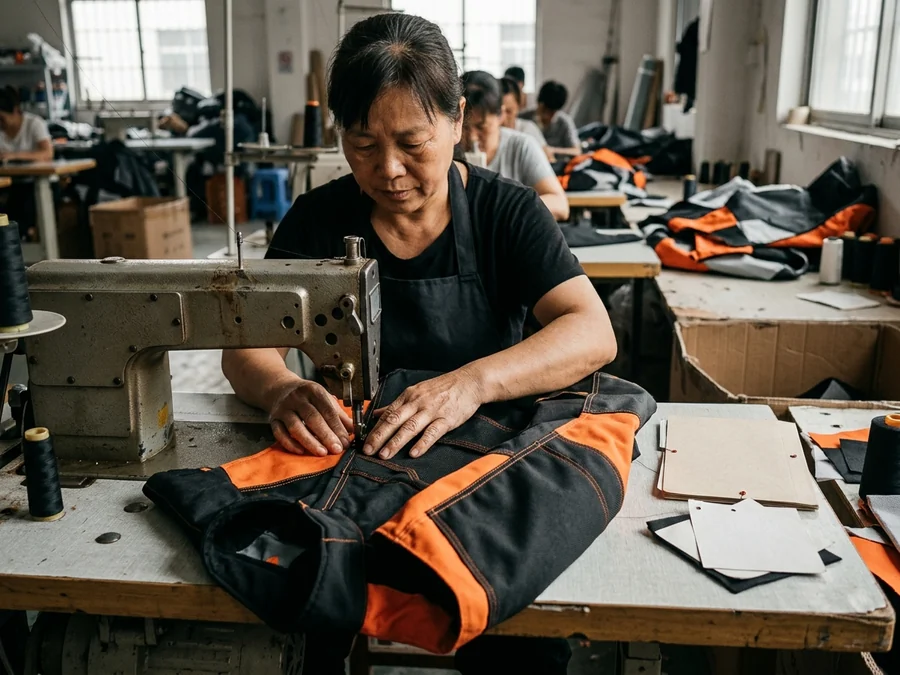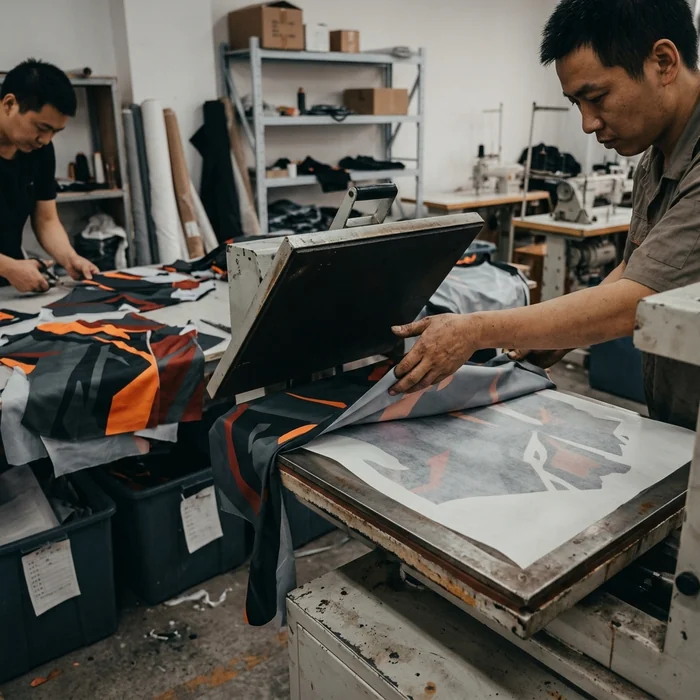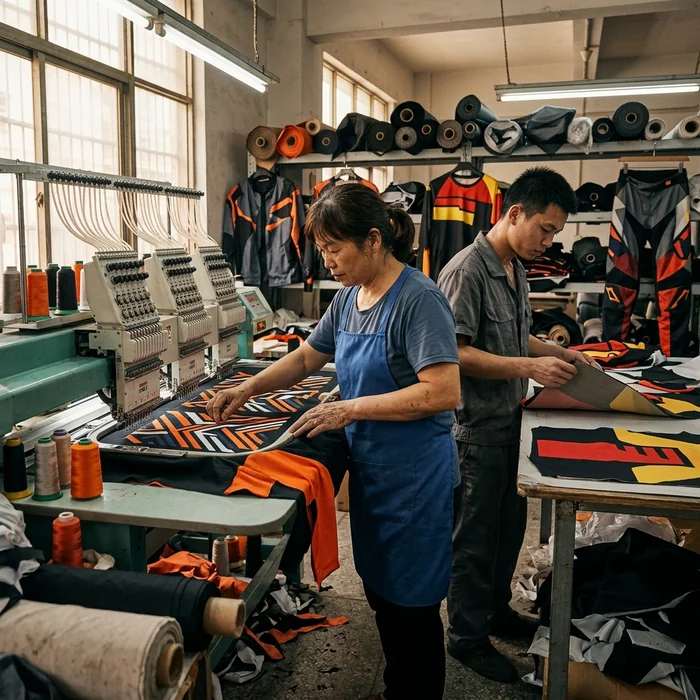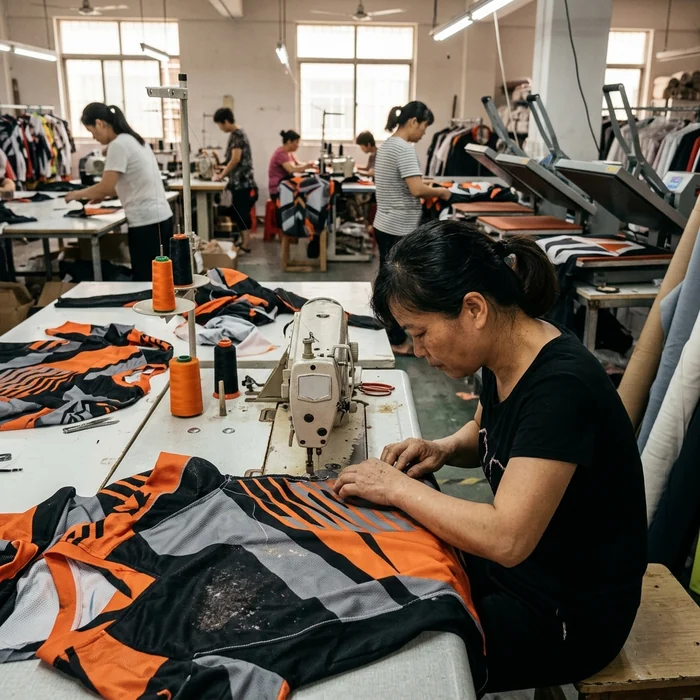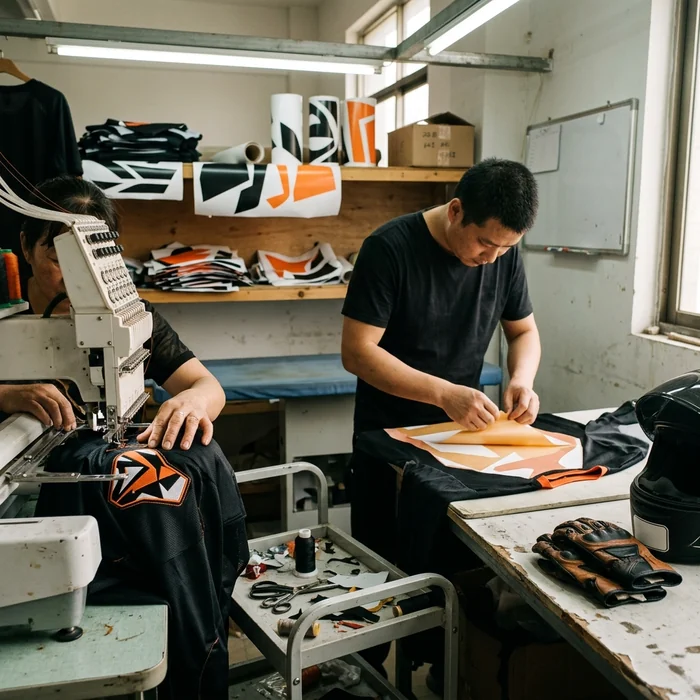
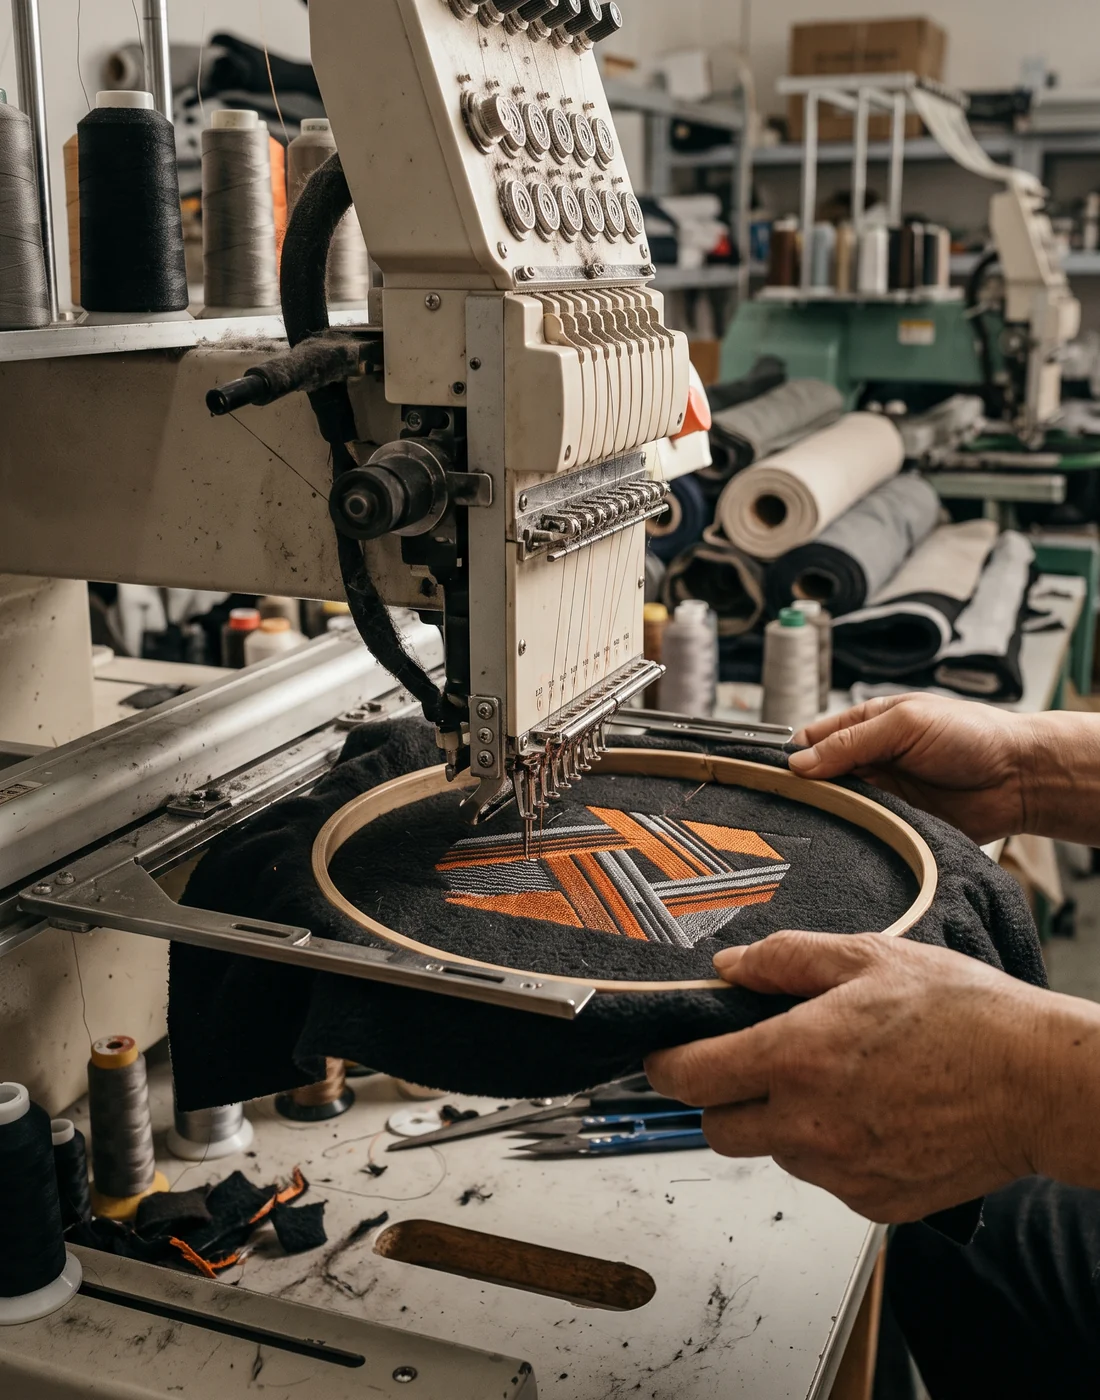
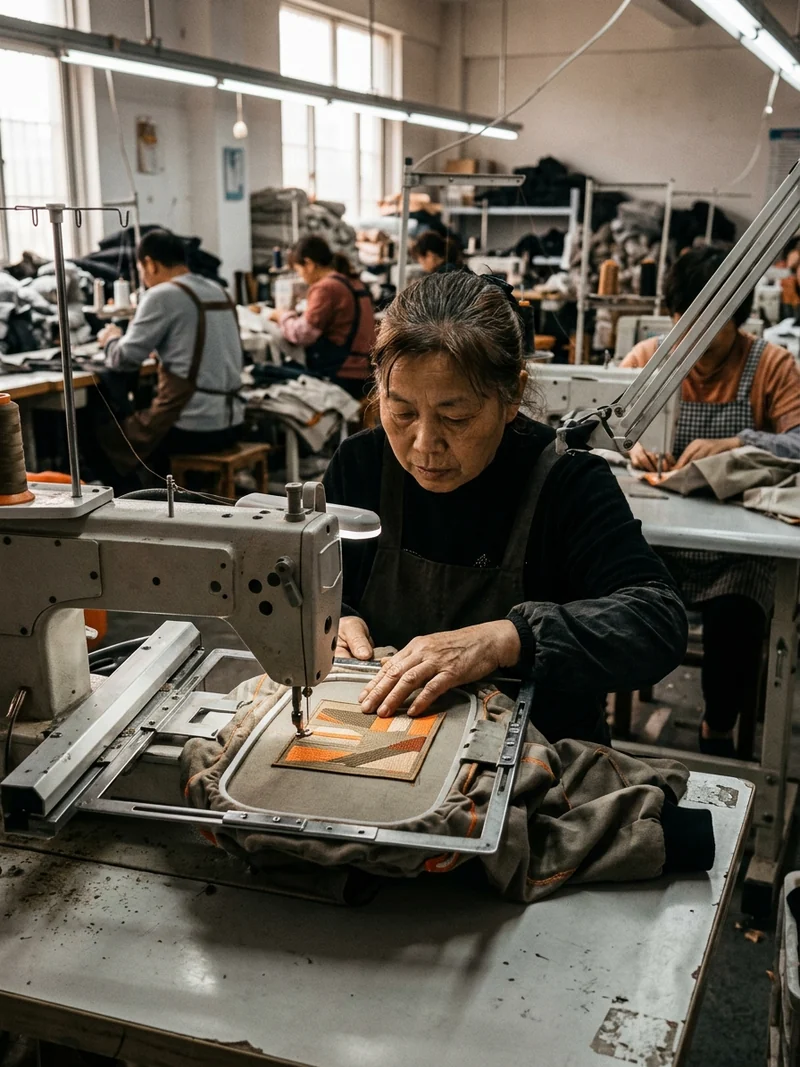
Embroidery machine needle head working on a hooped fleece panel
Decoration room · hooped and backed
One badge · three routes · five fabrics

Embroidery and Heat Transfer: How One Badge Survives Five Fabrics and Three Routes

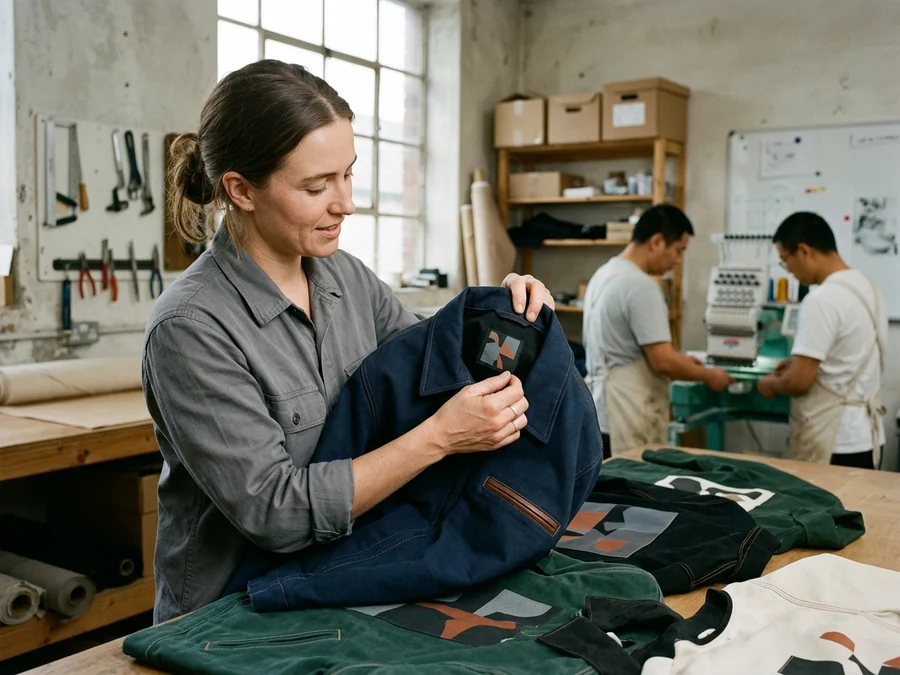
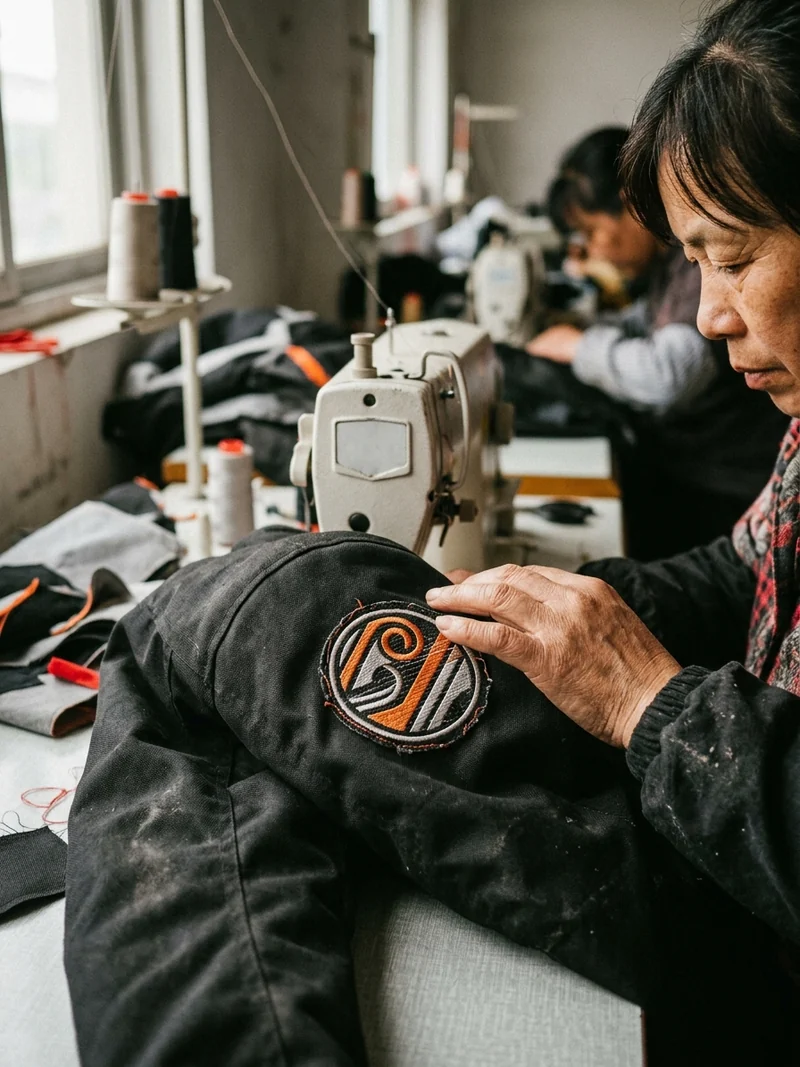
A club badge does not stay one badge by accident. The same artwork lands on a printed jersey, an embroidered fleece hoodie, a heat-transferred softshell and a perforated leather panel — and on each one it is made a different way. This page is the decoration room: what gets stitched, what gets pressed, what is left to the print room, and where a needle is not allowed to go.

Club officersBrand product managersDealersTeam managersAll-over sublimation
StitchThread through the fabric with a backing behind it. A raised mark with a physical edge.
PressA cut or printed film on the surface. No needle holes, so it can go on a membrane.
PrintDye that becomes part of the fiber, on polyester only.Goes to the print room
Who reads this page

Who reads this page: clubs, brands, dealers and the people who own the badge

Four readers who found out the hard way that a badge is not a file — it is a file per fabric.

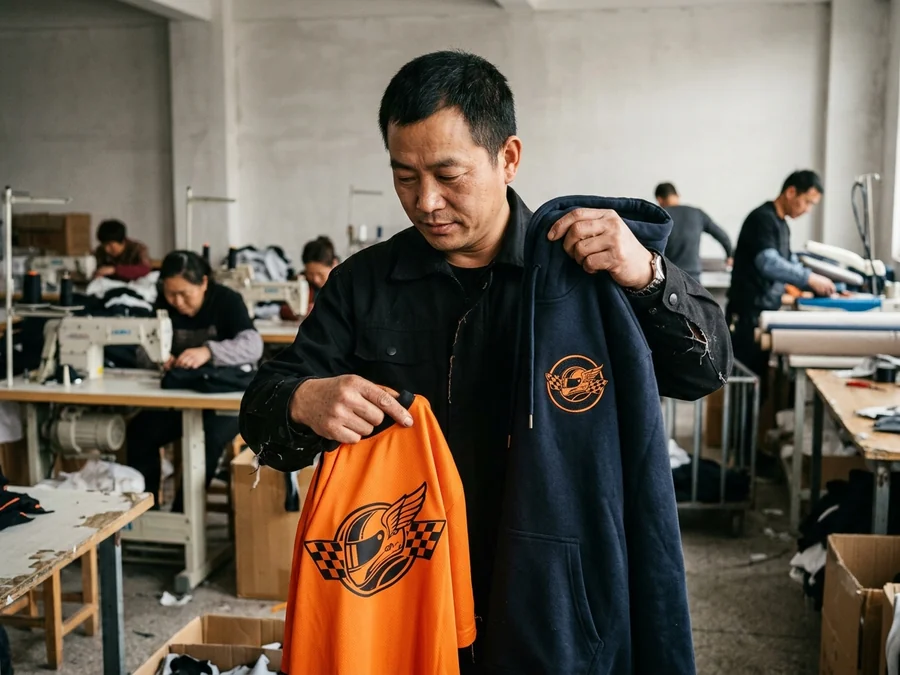
Club officer holding a hoodie and a jersey with the same badge made two ways

Club officers

Ordered hoodies and jerseys in the same season and got two versions of their own badge back.

Wants · one badge, not two
Brand product manager checking a woven label and logo across several styles

Brand product managers

Need a label, a logo and a size flag applied across eight styles and four fabrics without a re-approval each time.
Wants · one file set, many styles
Dealer adding a shop name to stock riding gear

Dealers and distributors

Want their shop name on stock gear without waiting for a whole new production run.
Wants · decoration without a run
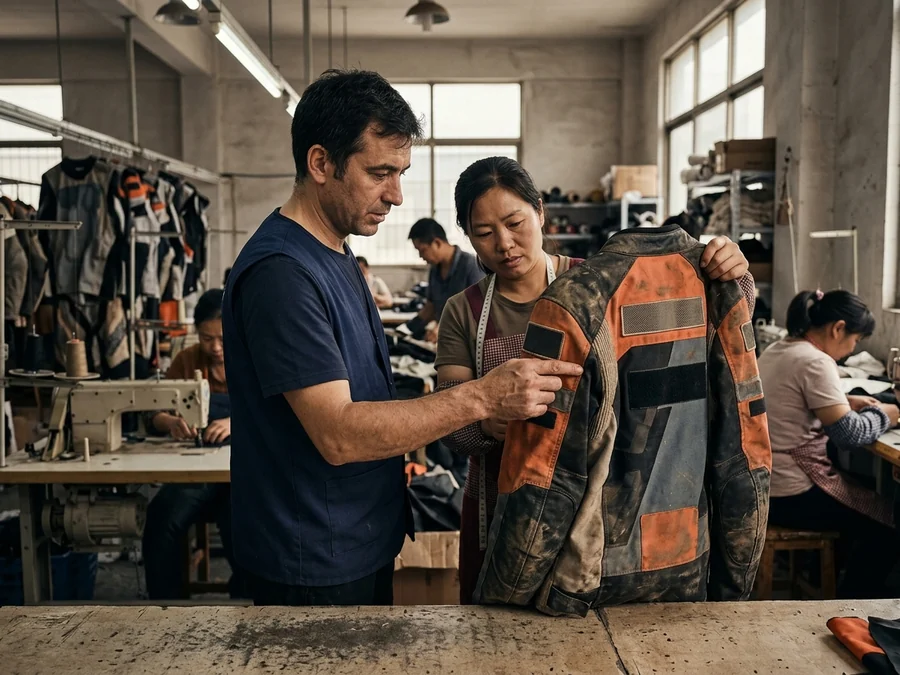
Team manager checking sponsor blocks and rider names on a race jacket

Team managers

Want sponsor blocks that survive a season of washing, and names that do not sit on top of an armor pocket.

Wants · placement that lasts
Not this page
  • All-over sublimation, which has its own page
  • The garments themselves, which have theirs
Three routes

The three decoration routes, and what decides which one a piece takes

The fabric decides first, the position decides second, and the quantity almost never decides at all — ten hoodies and three hundred take the same route.
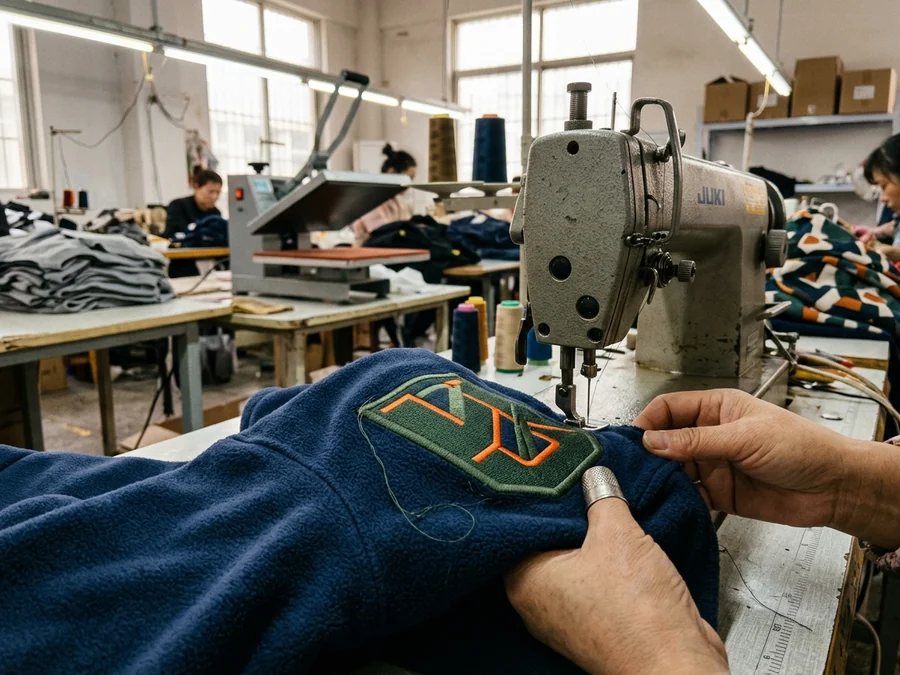
Embroidered badge on fleece with a raised, physical edgeRoute 01

Embroidery

Good at · reading as a badge

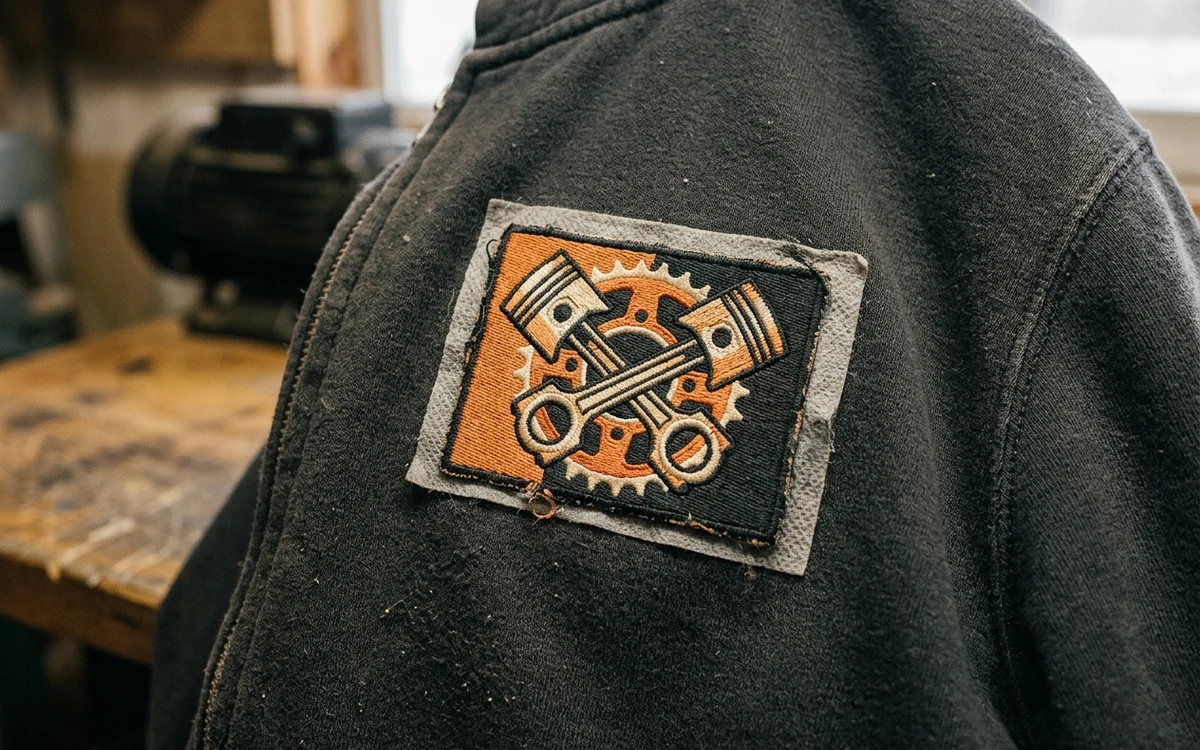
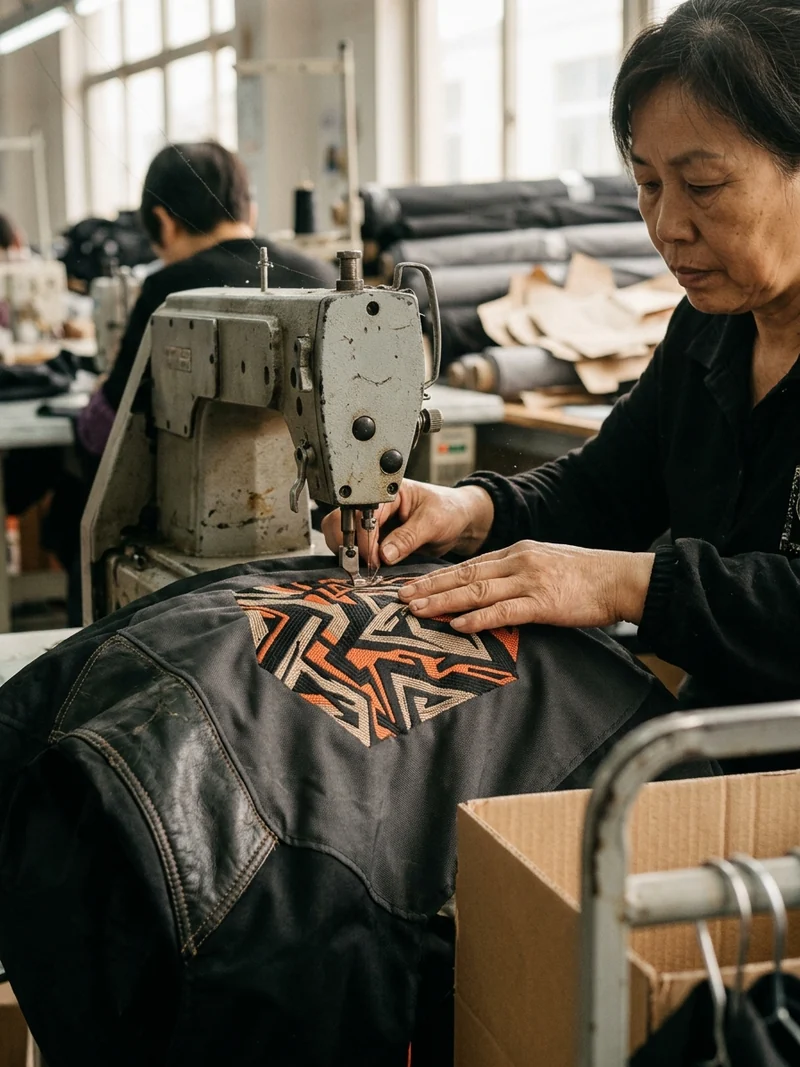
Thread stitched through the fabric with a backing behind it. The only route that gives a raised mark with a physical edge — a badge rather than a picture of one.
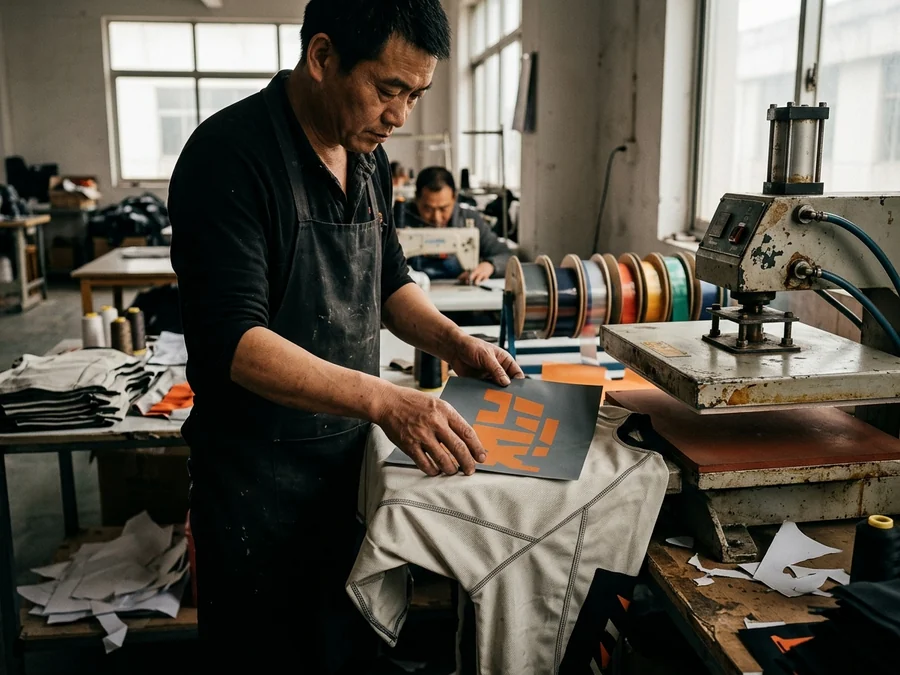
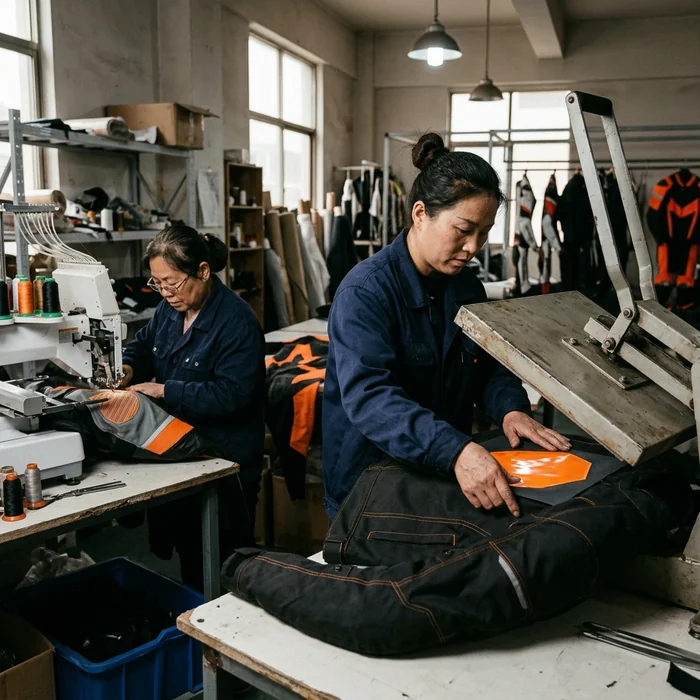
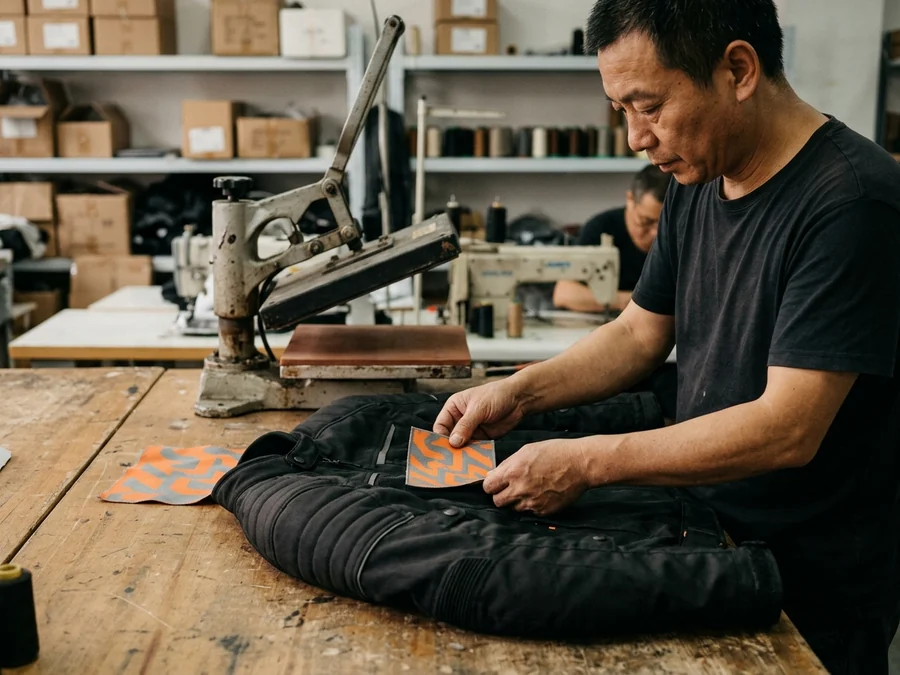
Heat transfer film being pressed onto a shell panelRoute 02

Heat transfer

Good at · no needle holes

A cut or printed film pressed onto the surface. Flat, thin and sealed — which is what a waterproof membrane or a stretch panel needs.
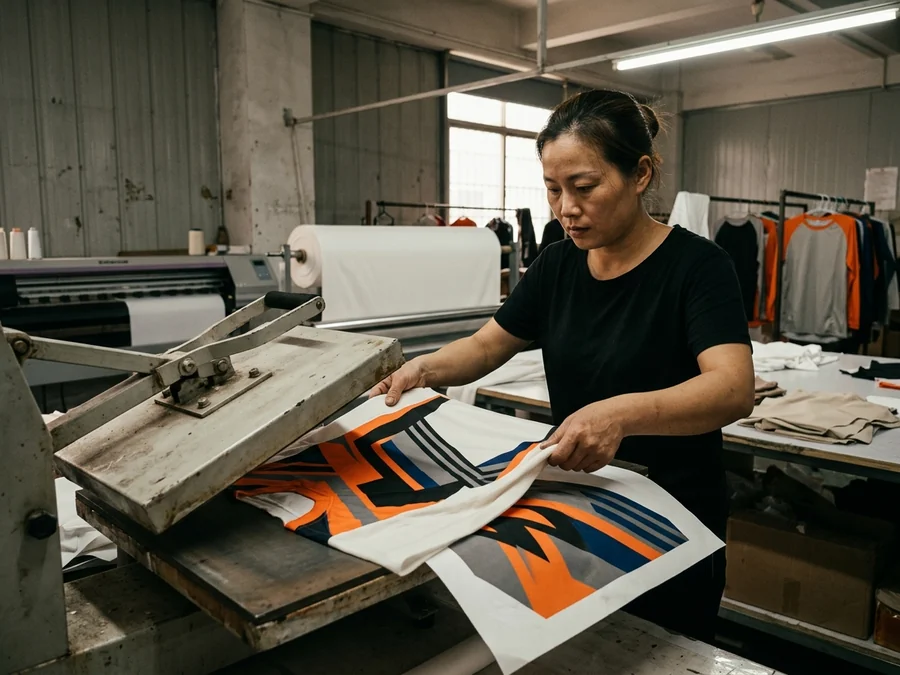
Sublimated polyester panel, the route that belongs to the print roomNot here

Sublimation

Goes to · the print room

Dye that becomes part of the fiber, at no weight, on polyester only. It leaves this room and has its own page.

Fabric to route

Fabric to route: the table the decoration room works from

Seven fabrics, the route each one takes, and the reason it takes that route.

FabricRouteWhy
Fleece hoodie 280–320 gsmEmbroideryThick enough to carry a dense badge; cut-away backing stays behind it.
Cotton or poly-cotton teeHeat transferA dense stitch on a light knit puckers, so the mark goes on the surface.
Polyester mesh jersey 140–160 gsmPrint roomA needle through a 140 gsm mesh distorts it; the jersey is sublimated instead.
600D polyester pant panelMixedEmbroidery for small marks, transfer for large ones, sublimation for the panel design.
Leather 1.1–1.3 mmPerforation or patchA needle hole in a hide is permanent, so placement is fixed before the first stitch.
Waterproof laminate shellHeat transfer onlyEvery needle hole is a leak path straight through the membrane.
Softshell and stretch panelsStretch filmThe mark has to move with the panel instead of cracking across it.
Thread against the strip

Thread matched against the printed strip, not against a chart

The strip from the print room is the reference the thread is chosen against — not a screen, and not a thread chart

Chosen on your fleece, under the same lamp

The badge is profiled once for print and digitized once for thread. The thread colors are then picked by laying candidate cones against your printed color strip under the same daylight lamp the print room uses, on the actual fleece, until the stitched sample and the printed panel read as one color. That thread number is written on the badge file beside the profile name.
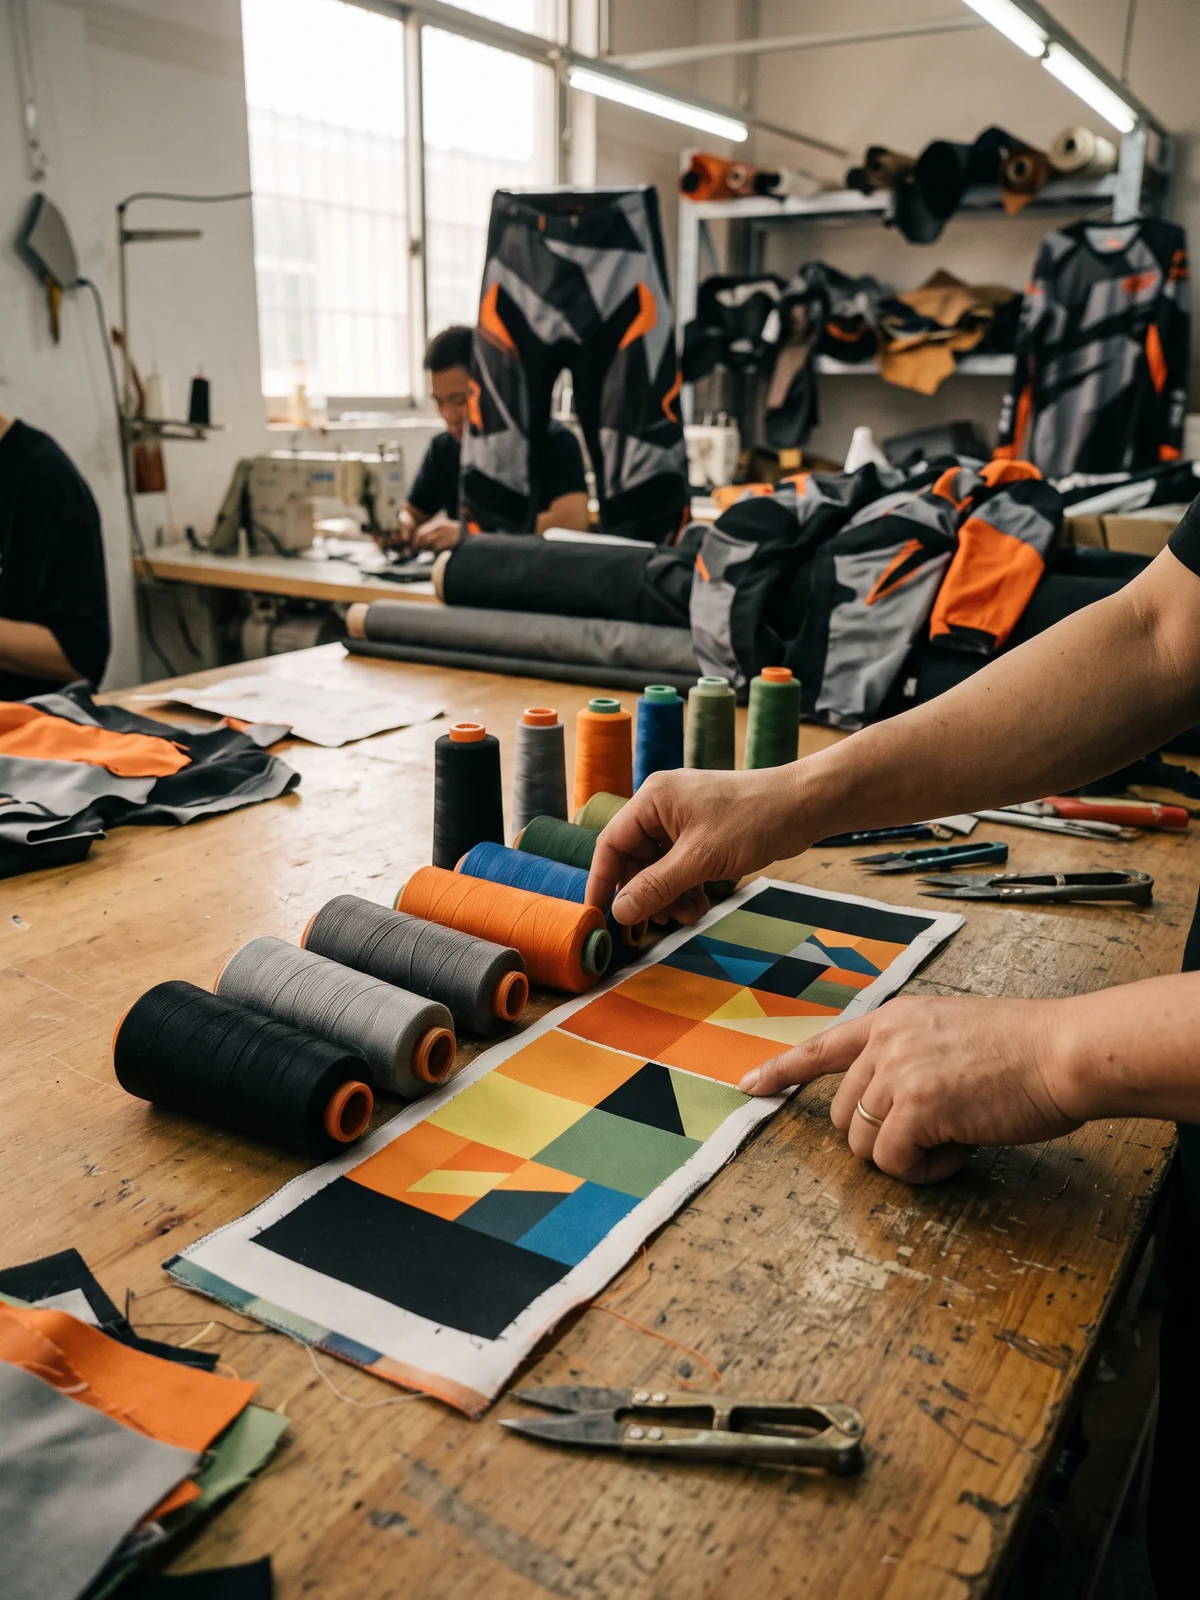
  • A stitched color is thousands of round reflective filaments; it reads lighter and glossier than the same color printed flat into a mesh.
  • Matching the number on a chart gives you two badges. Matching the strip under daylight gives you one.
What goes on the badge file
ThreadThe cone number used for each color in the badge
Matched toYour printed strip, on your fabric, under the daylight lamp
BesideThe print profile name, so the two rooms work from one reference
How to check itAsk for the thread number on the badge file, and ask what it was matched against. "Pantone" is a chart; "your strip, under the lamp, on your fleece" is a match.
Thread cones laid against a printed color strip under a daylight lamp
Cones · against your strip
One badge
per fabric

A badge digitized for fleece is re-digitized for a woven shell. The same file on both is how a club ends up with two versions of its own logo.

Digitizing

Digitizing: turning artwork into a stitch path

A logo is not an embroidery file. Scroll: the backing goes in first, then the badge is stitched out in the order the machine runs it.

Stitches run12,400

What is decided at this step

Two people can digitize the same badge and get two results — one that sits flat on a hoodie and one that puckers around the letters — because the decisions are about the fabric, not about the picture.

  • Stitch typePer area: satin for outlines and letters, fill for solid shapes.
  • Fill directionWhich way each shape runs, so light hits the badge as one surface.
  • Under-stitchingThe stitches underneath that hold the fabric flat before the visible ones go on.
  • Pull compensationShapes drawn slightly wide, because thread pulls the fabric in as it sews.
  • Letter heightThe smallest legible height for this thread on this fabric; small text is redrawn, not shrunk.
  • Colour orderThe sequence that changes cones as few times as possible.
How to check itAsk whether your badge is digitized once or per fabric. Once is faster, and it is also how you end up with two versions of your own logo.
Count and density

Stitch count, density and what they actually cost you

Stitch count drives machine time; density drives whether the badge stays flat

12,400STITCHES · DEMO BADGE

Stitch count is the number of needle penetrations in a design, and it is what machine time is measured in — so it is the number a factory quotes against.

Density is the one that bites later

The practical limits come from the fabric, not from the artwork. A badge too dense for a soft fabric becomes a stiff plate that will not move with the garment; one too open lets the fabric show through the fill. Small text fails first: letters below a legible height fill in and read as a smudge, so a sponsor name that works at chest size is re-drawn for a sleeve rather than scaled down.
How to check itAsk for the stitch count and the finished size together. A count without a size is not a specification.
Badge stitched too densely for the fabric, sitting as a stiff plate
Too dense
Badge at the right density for the fabric, moving with the garment
Right for the fabric
Badge stitched too openly, with the fabric showing through the fill
Too open
3ROUTESStitch, press, or off to the print room
7FABRICS MAPPEDEach one routed for a reason, not a habit
4CHECKS PER RUNSetup, registration, mid-line, final
20% MID-LINEWhere placement drift gets caught
Front of an embroidered badge sitting flat on a hoodie
Front · flat after washing
Inside of the same garment showing the cut-away backing and its cover patch
Inside · backing, and its cover
Backing

Backing, stabiliser and why the back of a badge matters

What sits behind the stitches decides whether the front is still flat after twenty washes

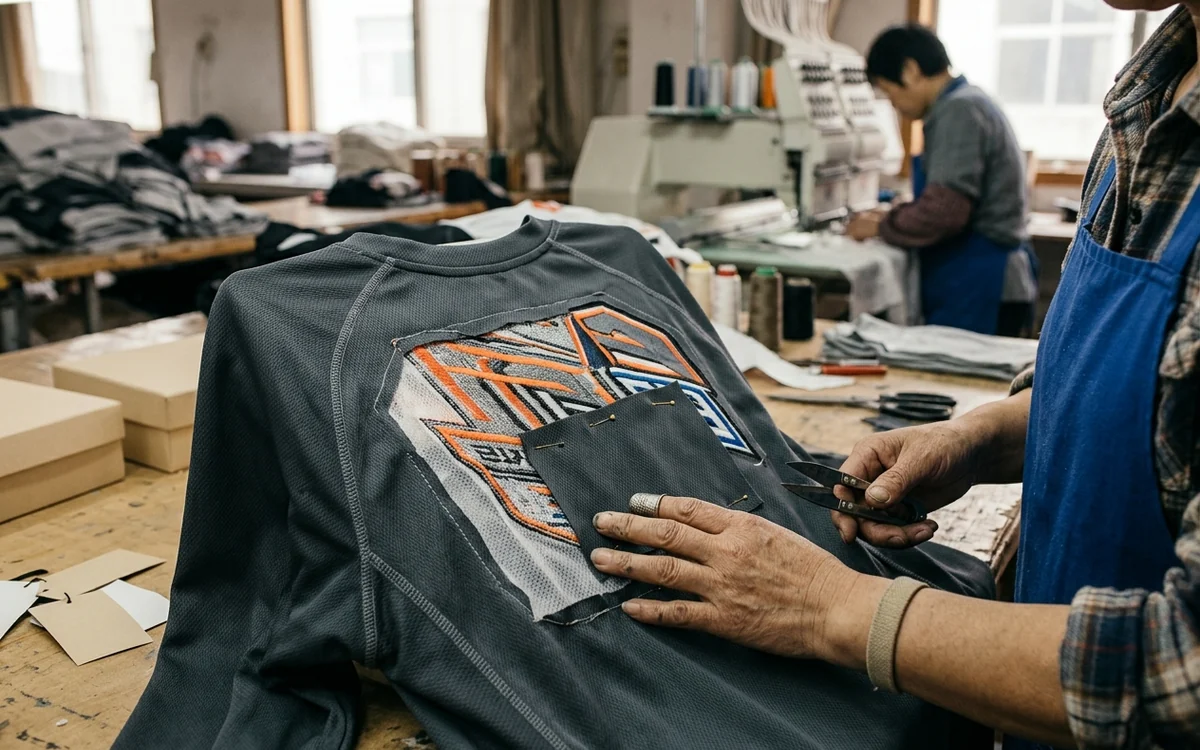
Every embroidered area is stitched through a backing that holds the fabric still while the needle works. Cut-away backing stays in the garment permanently and is what a stretch fabric or a fleece needs; tear-away comes off after stitching and suits a stable woven. Getting this wrong does not show on the sample — it shows on the fifth wash, when the badge starts to ripple because nothing behind it is holding the knit.

The back is a comfort question too

On the inside of a riding garment, a cut-away edge against bare skin is covered with a soft backing patch — on collars, cuffs and anywhere the garment is worn next to the body.

How to check itTurn the sample inside out. You should see the backing, and on a hoodie collar you should see it covered.
Four films

Heat transfer: the four films and where each belongs

A transfer is chosen by what the garment has to do, not by what it has to look like.
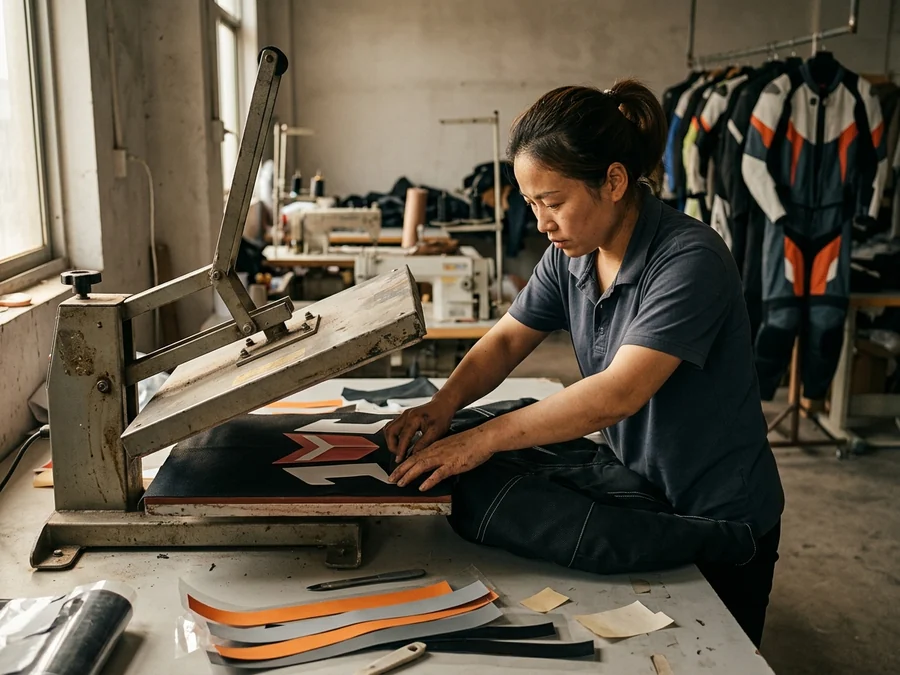
PU cut vinyl names and numbers pressed onto a shell

PU cut vinyl

Use · names and numbers

Solid single colors. Thin, matte and stretches a little — the standard choice for rider names on a shell.
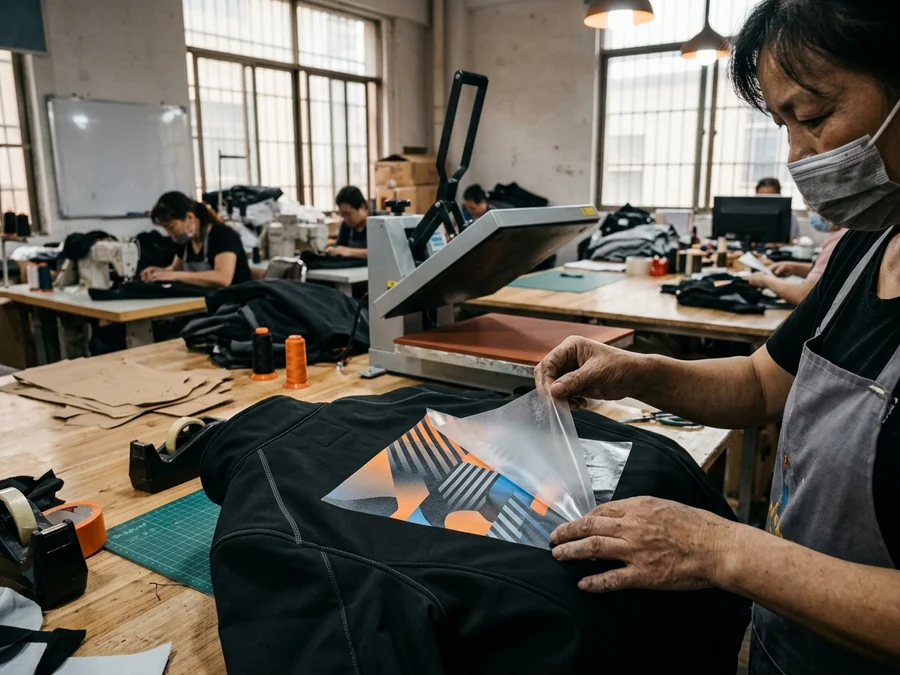
Full-colour printed transfer with gradients on a softshell

Printed transfer

Use · full-colour artwork

Gradients and detail that thread cannot hold. Goes on tees, softshells and waterproof laminates.
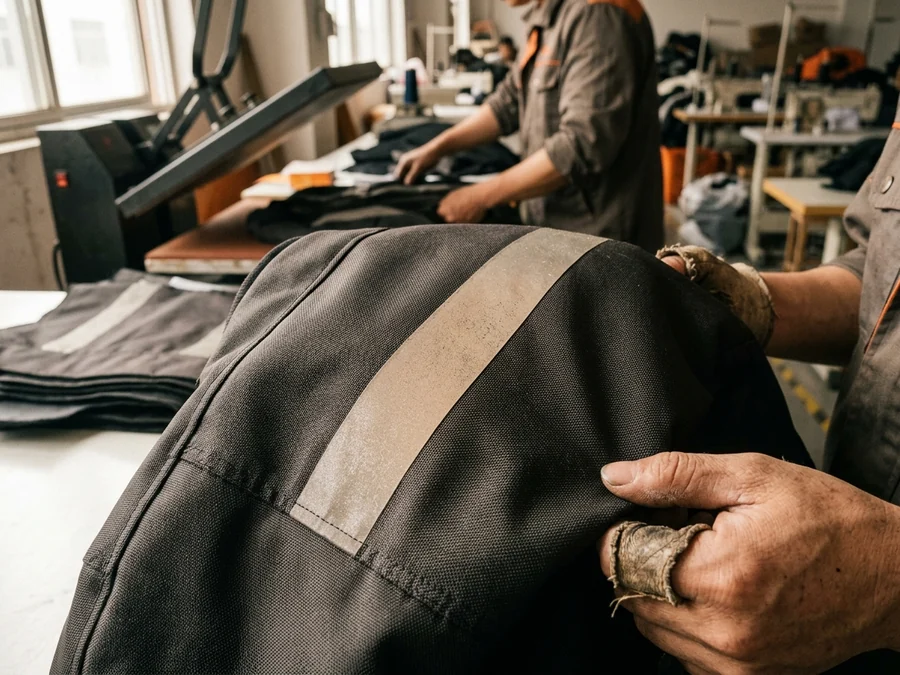
Reflective transfer stripe on a touring jacket lit from the side

Reflective transfer

Use · high-visibility marks

For touring and instructor gear, applied as a panel, a stripe or a logo that lights up under a headlamp.
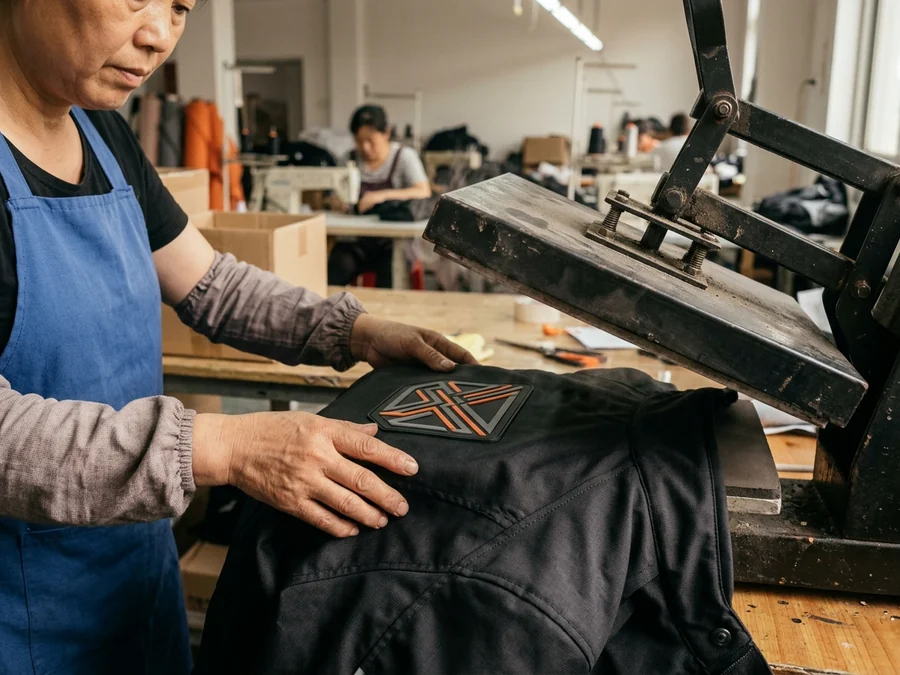
Raised silicone transfer badge on a membrane shell

Silicone / high-density

Use · a badge without a needle

A raised, rubbery mark with an edge you can feel, for clubs that want dimension on a membrane they cannot stitch.

Settings are recorded, not rememberedAll four are pressed with a temperature, time and pressure combination recorded per film and per fabric, and every combination is tested on the actual garment fabric before it is used on the run — a film that peels is almost always a film pressed with someone else's settings.
Five red lines

Five placements a needle is not allowed to cross

Placement rules that protect the garment, and the reason each one exists. These move placements — and moving a placement is a conversation that happens in writing, at layout stage.

Not through an armor pocket

A stitch line across a shoulder, elbow, knee or back pocket changes how the armor sits, and creates a hard point exactly where the garment is meant to absorb.

Not through a waterproof membrane

Every hole is a leak path. Marks on laminates are transferred, never stitched.

Not across a seam

A badge that crosses a seam sits on two planes and puckers on both. The placement moves, or the badge is split.

Not over a stretch panel

Embroidery does not stretch. A mark on a crotch, yoke or side panel is transferred with a stretch film instead.

Not under a zip path or over a vent

A raised badge in the path of a zip or a closing vent wears through from the inside out.

Send the badge

Send the badge and the garment list, and we will route each piece

The badge file

The badge file: what we keep and what you get

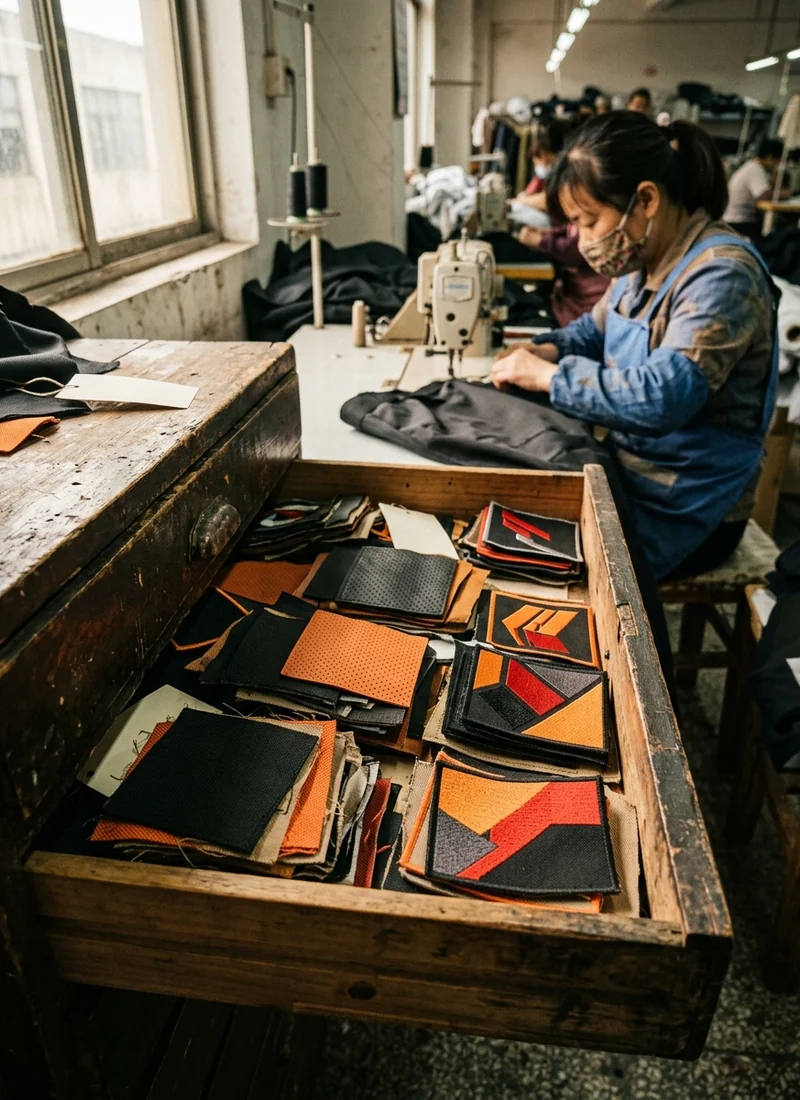
One file per badge per fabric, with the thread numbers and the placement written on it.
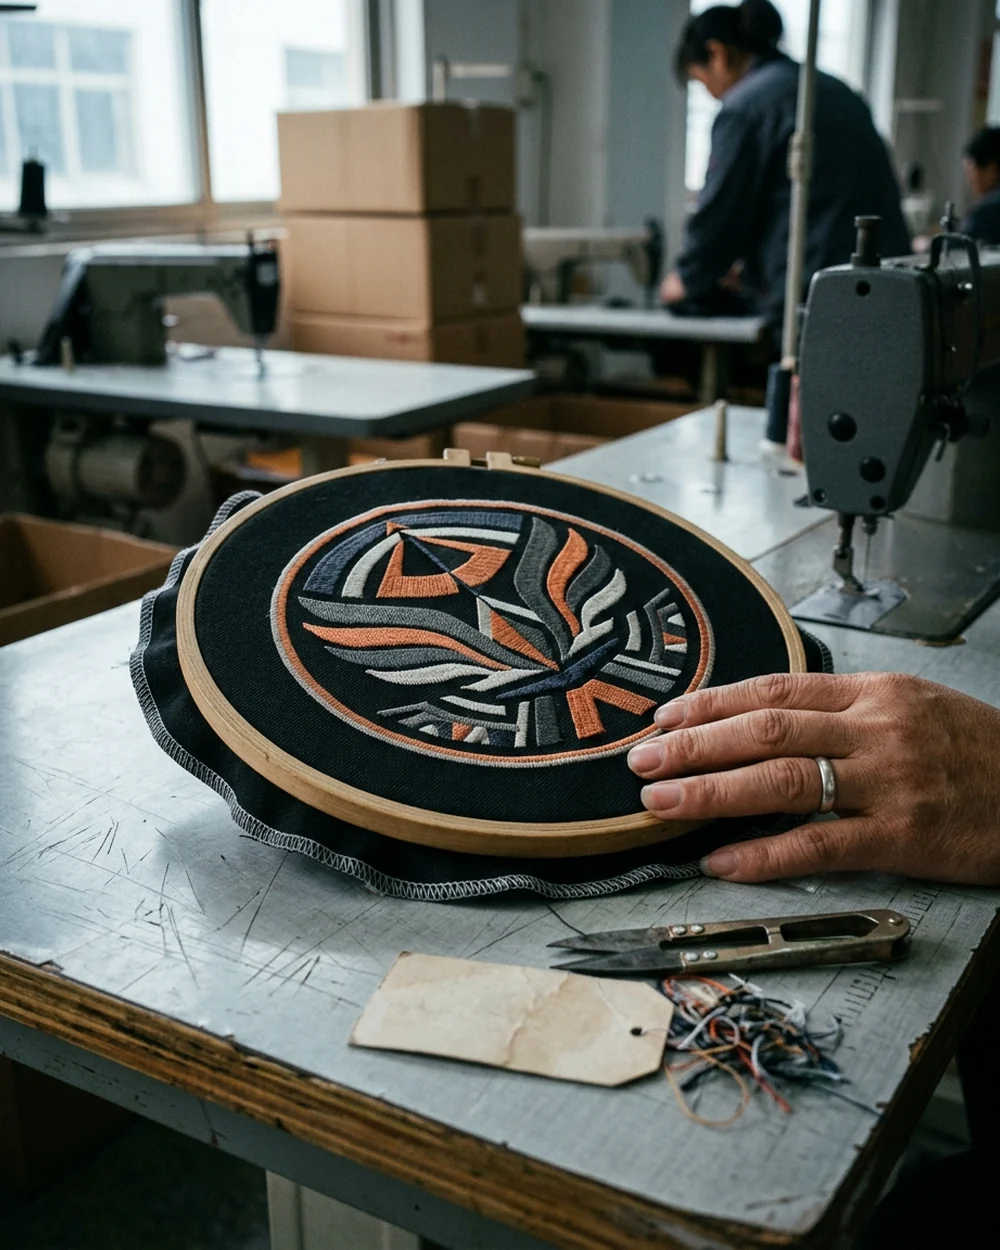
The approved stitched sample of a badge, still in the hoop
Stitched sample · the reference
Placement map with measurements taken from a seam rather than centred by eye
Placement map
Thread numbers written on the badge file card beside the profile name
Thread numbers
  • The digitized filePer fabric, with stitch count, finished size and backing type on it.
  • The thread numbersWhat each color was matched to, and what it was matched against.
  • The placement mapWhere the badge sits on each garment, measured from a seam or a fixed point rather than "centered".
  • The stitched sampleOne physical badge on your fabric — the reference every run is checked against.
What a second order runs fromThat file. Nothing is re-digitized, nothing is re-matched, and the badge on the new hoodie is the badge on the old one.
Four checks

Decoration checks on the run

Four checks, each made against the file rather than against the last piece off the machine.
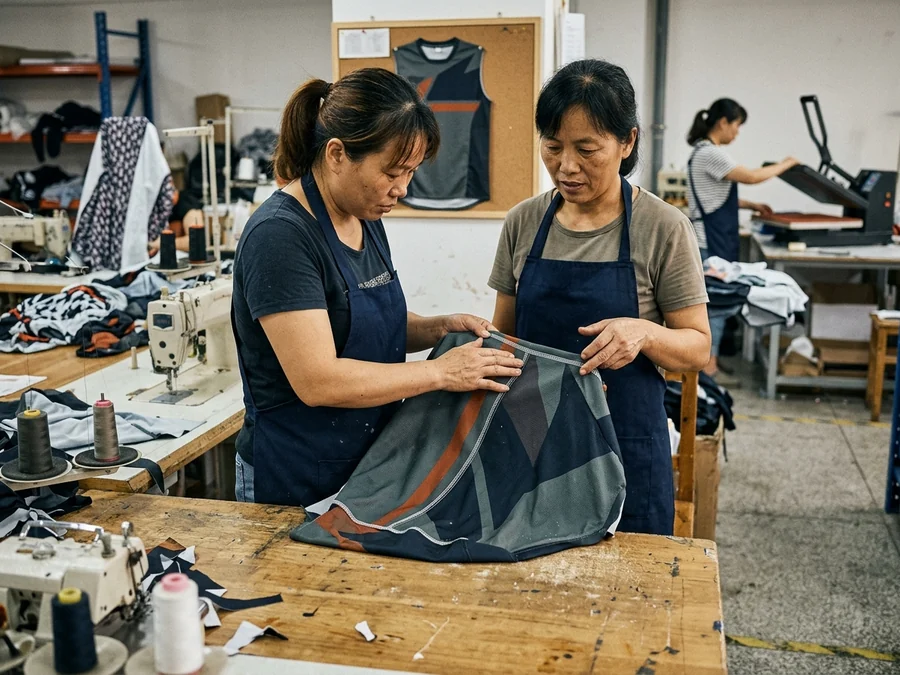
First decorated piece of a style checked against the stitched sample
01

Setup

The first piece of each decorated style is checked against the stitched sample and the placement map before the run is released.
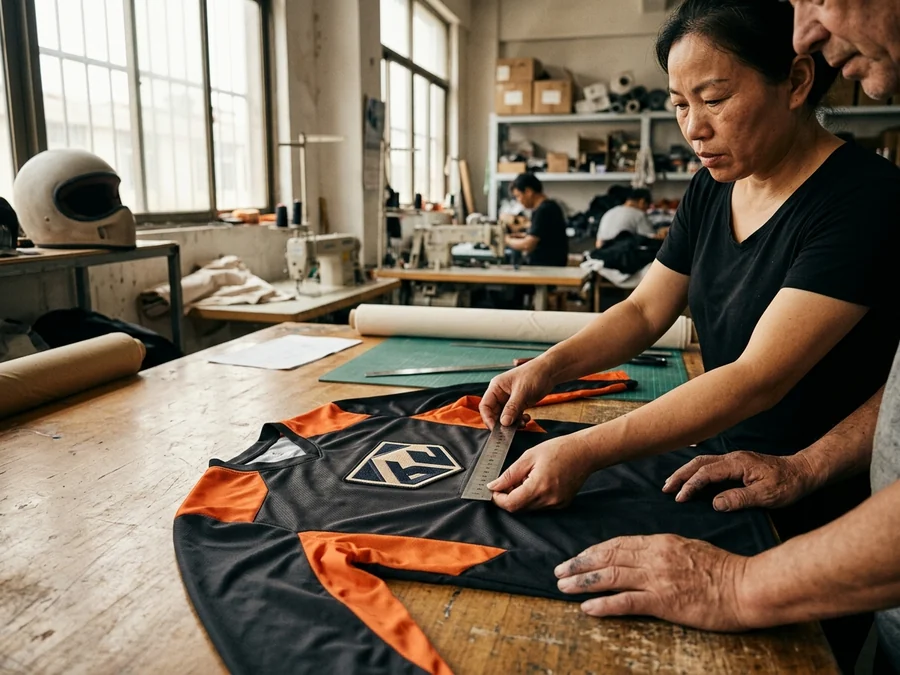
Badge placement measured from a fixed seam point with a ruler
02

Registration

Placement measured from the fixed point on the map, not eyeballed against the previous garment.
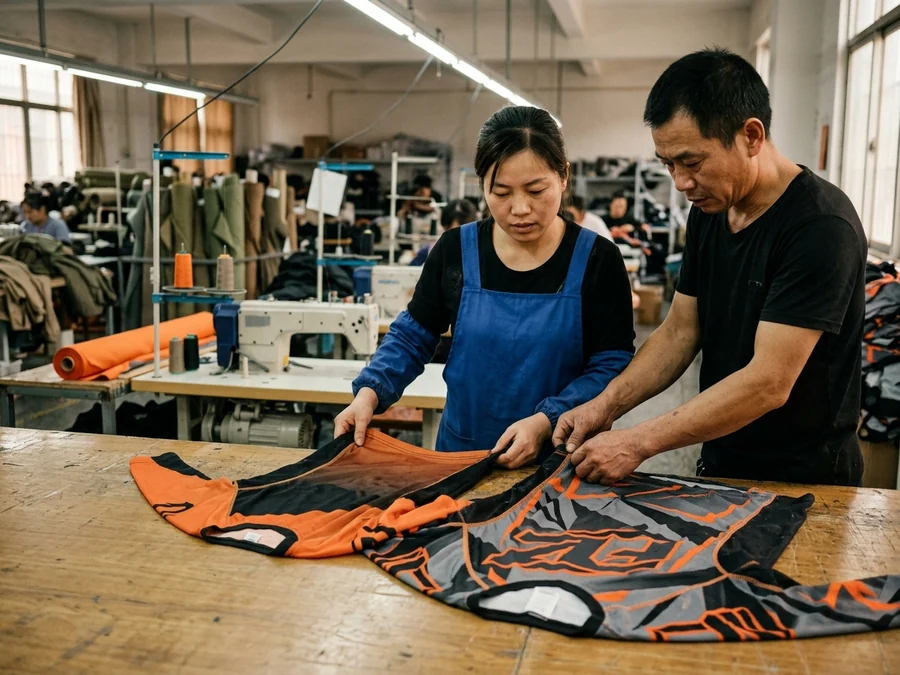
Decorated pieces pulled across sizes at the mid-line check
03

Mid-line

After the first 20 percent, pieces are pulled across sizes and checked for placement drift, thread breaks and puckering.
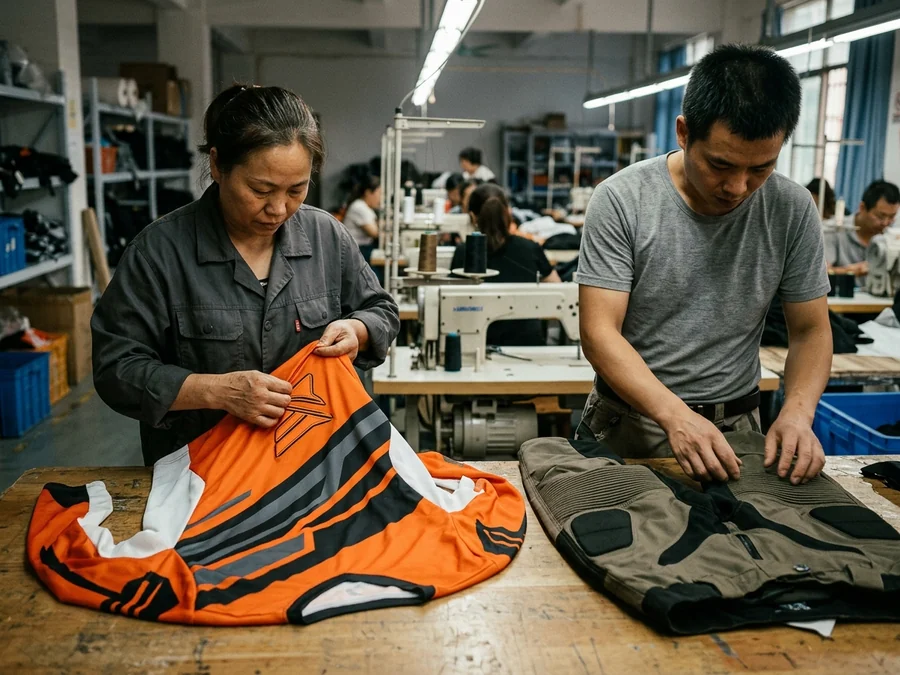
Final check of a decorated garment, front and back
04

Final

Every piece checked front and back: no loose ends, no trims left, backing covered where it should be, transfers with no lifting at the edges.

Changes

Changes to a decorated run, and what each costs

Which changes are free, which need a new file, and which need a new sample.
Sponsor name or number change before the file is approvedAnything moved or re-typed before you sign off the file
Noneno effect
A color changed after the thread is matchedNew match against your strip; a new stitched sample if it runs across the badge
Newthread match
A new fabric added to the kitThe file is fabric-specific, so the new fabric gets its own
Newdigitizing
A placement moved after samplingNew placement map and a new first-piece check
Mapno re-digitizing
Artwork redrawnNew file and sample; the old file is kept so the two versions never get mixed
Newfile + sample
Repeat order from the badge fileRuns from the file that is already approved
Noneno new sample
Badge files kept in a drawer, one per fabric, old versions retained
One drawer · one badge per fabric
Six things

Decoration quote: the six things to send

Send these six and Anna comes back within 24 hours on business days with the route per fabric.
  1. The artwork

    Vector if you have it; a clear photo of an existing badge if you do not.
  2. The garments

    Which pieces in the kit carry the mark, and what they are made of.
  3. The positions

    Where you want it, or a photo of a garment with it in the right place.
  4. The finished size

    For each position; a chest badge and a sleeve badge are different files.
  5. Matching pieces

    Anything printed the embroidery has to match, so we work from the same strip.
  6. Quantity and date

    How many of each piece, and when you need them.
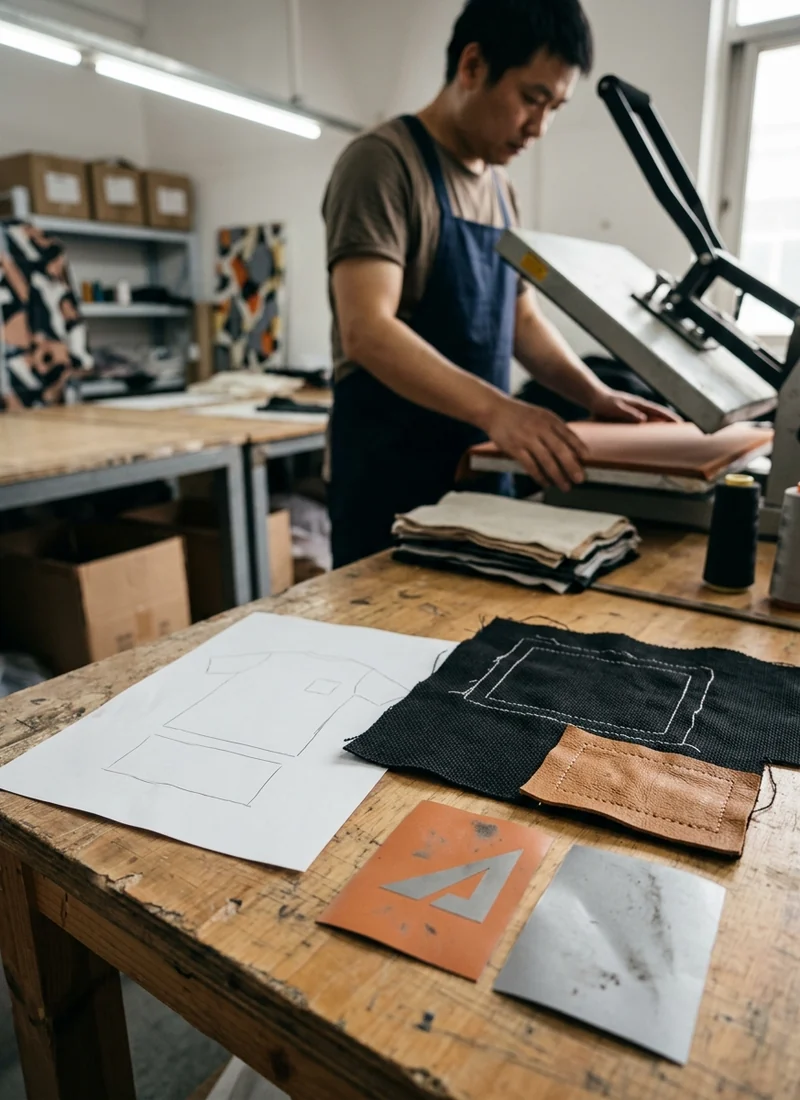
Artwork, garment samples and a position sheet laid out ready to send
Six things · one email
Badge and garment list

Send the badge and the garment list, and we will tell you which route each piece takes

Anna replies within 24 hours on business days with the route per fabric, what has to be digitized, what gets pressed, and which placements need to move before anything is stitched.

Anna · Sales Manager WhatsApp / phone: +86 177 0272 7677 Email: sales@runmotoapparel.com Mon–Sat 9:00–18:00 (GMT+8)